Google Docs Automation & Embed
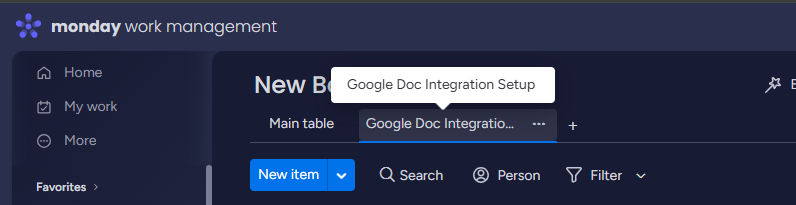
Step - 0 : Open the Google Docs Integration Setup view on your desired board.
Step - 1 : Authenticate with Google with the help of the first button. After authentication the button will show the following text.

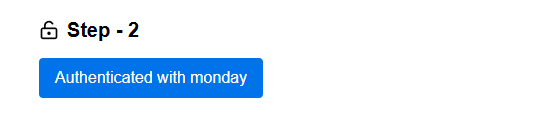
Step - 2: Authenticate with monday with the help of the button under ‘Step - 2’ on screen.
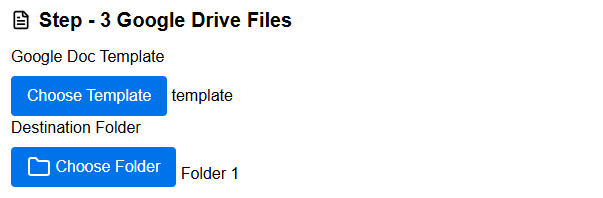
Step -3 : Next step has two parts. First choose the desired Google Docs template. All Docs will be generated using this template. See the template guide here.
Next choose the destination folder where your generated Google Docs will be stored.
You can always change these two by visiting this view again on a later date.
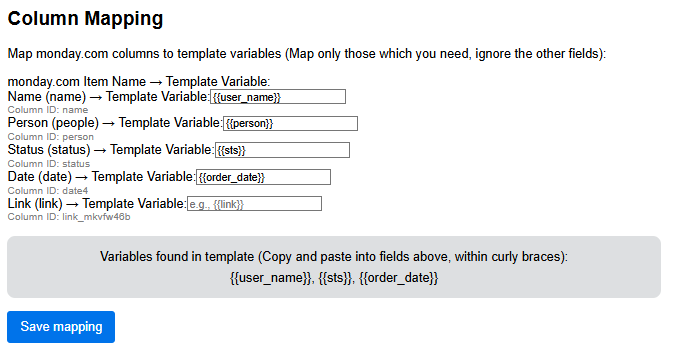
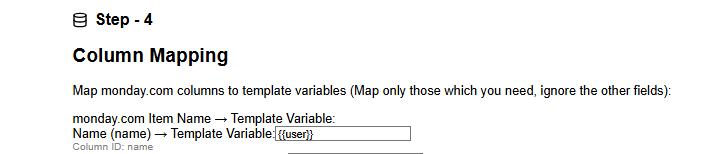
Step - 4 : Map the monday column values to the template variables. On the left side you can see the name of the monday column. On the right you will see a box. Put the variable name from your template (that you have selected in step 3), inside the curly braces. Click ‘Save mapping’. See the template guide here to understand more about this step.
Step - 5 : Finally click Submit. If you see a success message alert on top, that means your setup was successful.

Note: All these steps are mandatory for your automations to work. These must be followed chronologically.
Setting up the automation in your board
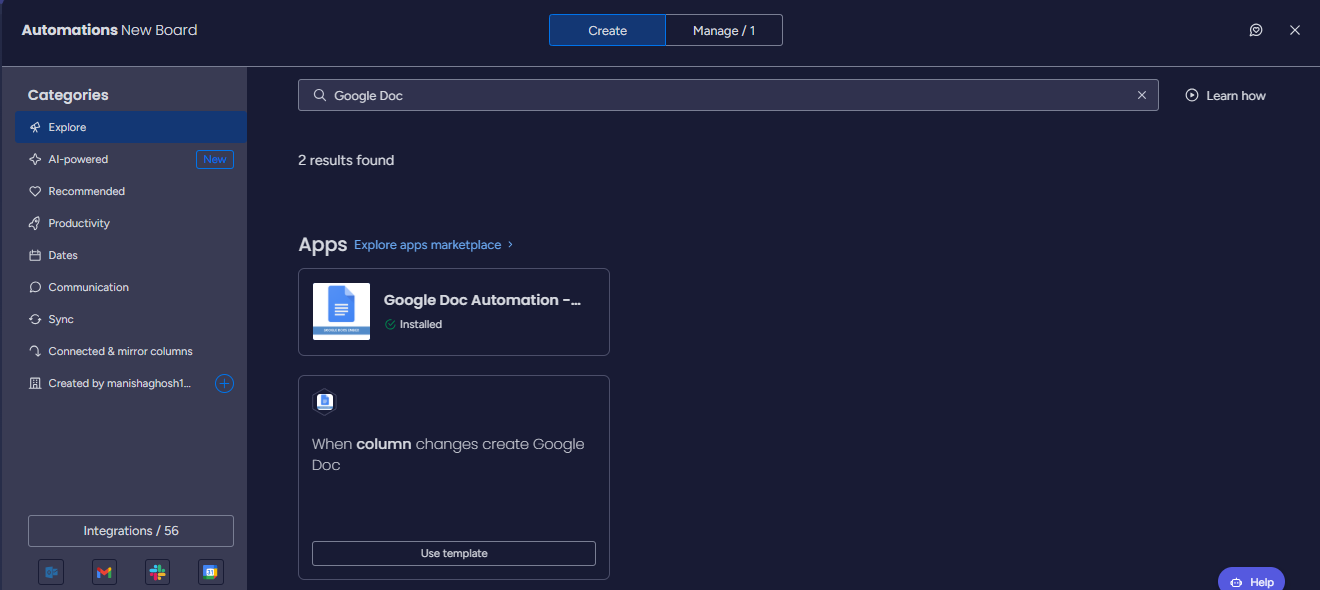
From the automation center of your board, go to create option at top and search ‘Google Doc Automation’
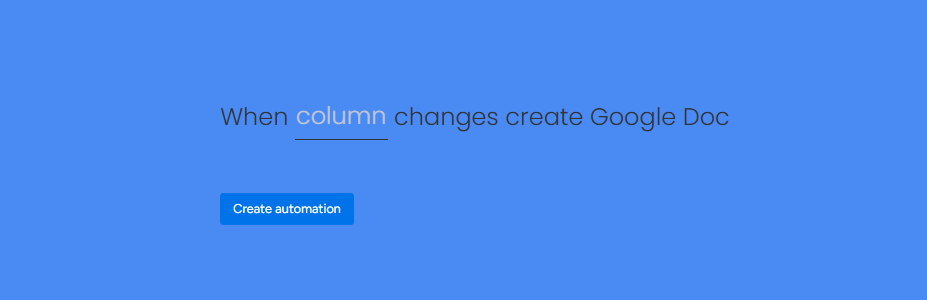
Choose the automation to set up. Select any column that you would like to trigger for creation of the document. (For example: On change of the status). Click ‘Create Automation’.
Optional Steps
Step - 6: You can choose to save the links of generated Google Doc for each item, in a link column in your board. This might be helpful if you plan to embed the Doc in your item with the ‘Embed’ feature of this app. Open the settings panel on the right, select a link column and then click Save.

Step - 7 : You can choose to generate Docs from already existing items in your board without automation. Please note, as this is a bulk action, you can only generate a maximum 100 documents at a time. Use the filter option in the view (on top of the feature) to select up to 100 items or less.

Templating Guide:
Templates are demo documents that have placeholders as values. These placeholders are called variables, that will be filled with monday column values to generate the Doc.
To make a template, create a Google Doc from your Google workspace as per your requirement. Wherever you want the value to be replaced by monday column value, put double curly braces like {{}}. Inside the double curly braces, put a variable name. The variable name could be anything, but keep a name that will help you understand it later. You will need to fill these variable names while setting up the automation.
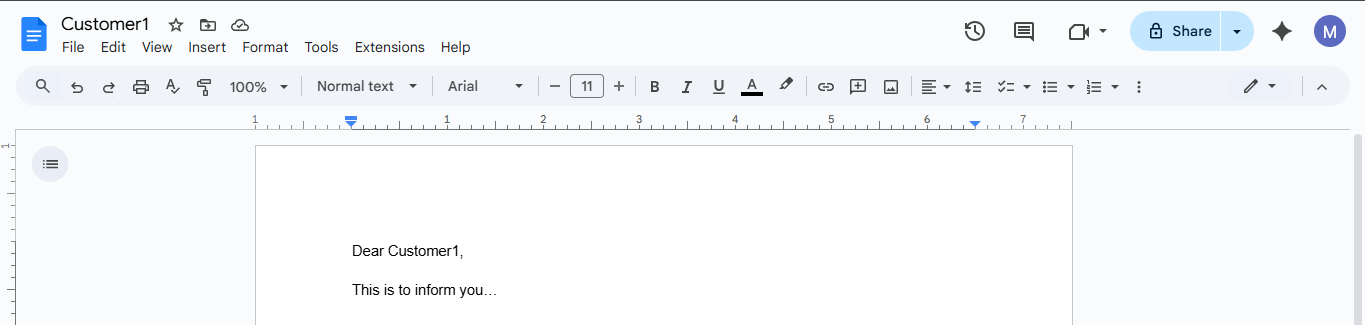
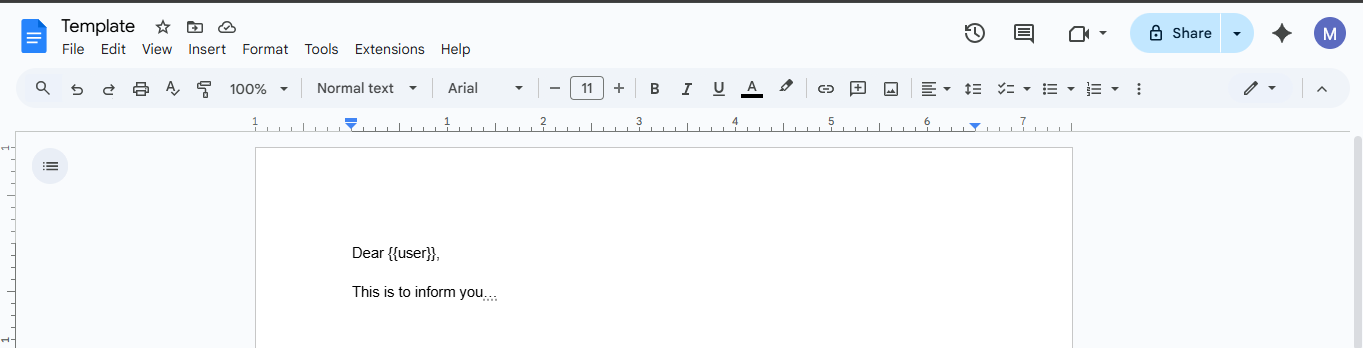
Example: This is a demo template in Google Doc. I want monday item name to be the word after ‘Dear’ in the following Doc. So, I will put double curly braces, and put a variable name of my choice. I have chosen ‘user’ as variable. Currently, this does not have any relation to my monday board columns. But, this will only be relevant when I put this variable name in the column mapping step in the ‘Google Doc Integration Setup’ feature.
While setting up the integration from the ‘Google Doc Integration Setup’ feature, I will put the variable ‘user’ inside double curly braces in the column mapping step, like following -
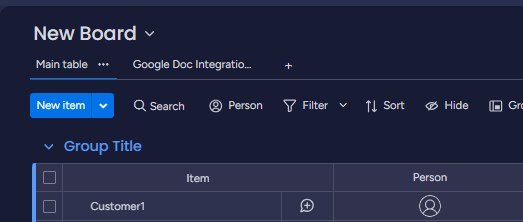
So if the item in my monday board looks like this:
the generated document will look like this: